
Most common use cases for Maximo Mobile solutions
For many organisations, when starting a mobile project, the stakeholders may not have prior experience with mobility solutions for EAM. […]
For many organisations, when starting a mobile project, the stakeholders may not have prior experience with mobility solutions for EAM. […]
I spend a large portion of my time working with mobile solutions, but I haven’t talked much on this topic.
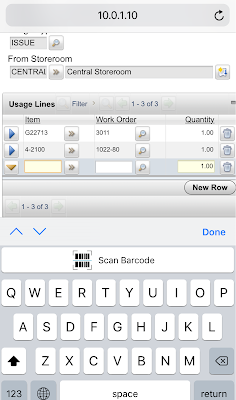
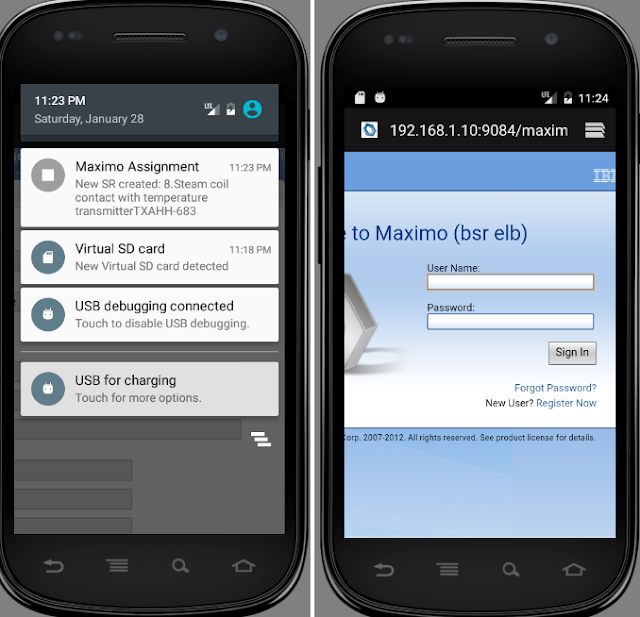
I’m in love with Maximo Everyplace. It is so simple and easy to use. And guess what, it is totally
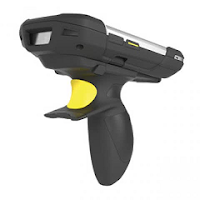
I had to look at RFID/Barcode options for Maximo mobility solution recently. Although these technologies have been around for decades

A quick demo for Avenue eLogBook mobile application on an ECOM Smart-Ex device. The video is delivered in Vietnamese and
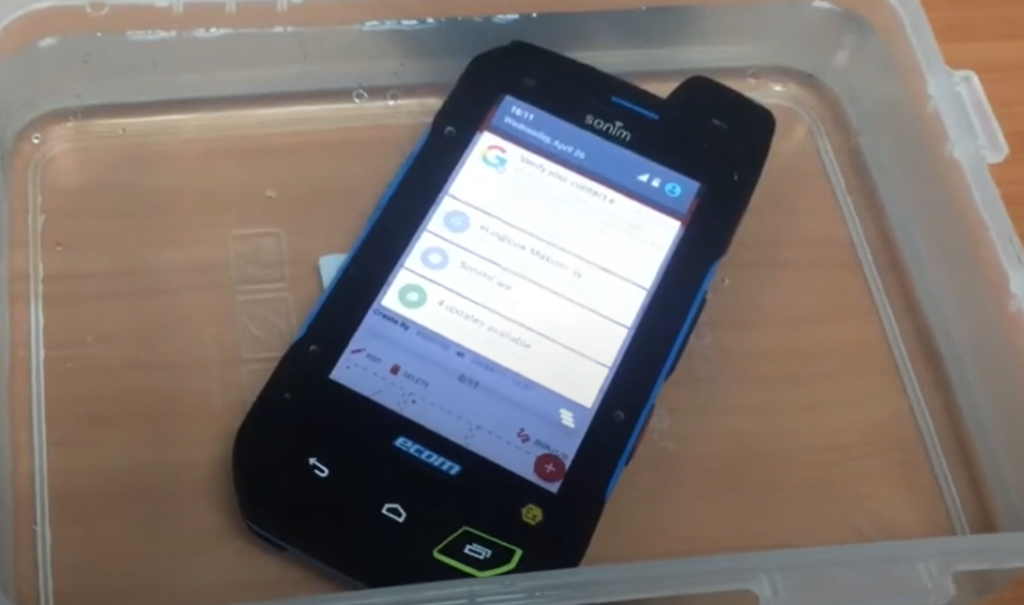
To ensure that our new version of the eInspector application works under extreme conditions, we’ve tested filling forms under harsh
One of the great ways to reduce the time to review and route a workflow assignment is to set up