In the previous post, I provided an example of how we can customise Object Structure to enable import/export of binary data via MIF. It is achieved with Java customisation. From Maximo version 7.6, the automation scripting framework has been greatly extended to support integration. With this update, we can enable import/export of binary data with a simple automation script. Below is an example of how we can configure Maximo 7.6 to bulk upload images to Item Master application:
Step 1: Add a new Object Structure
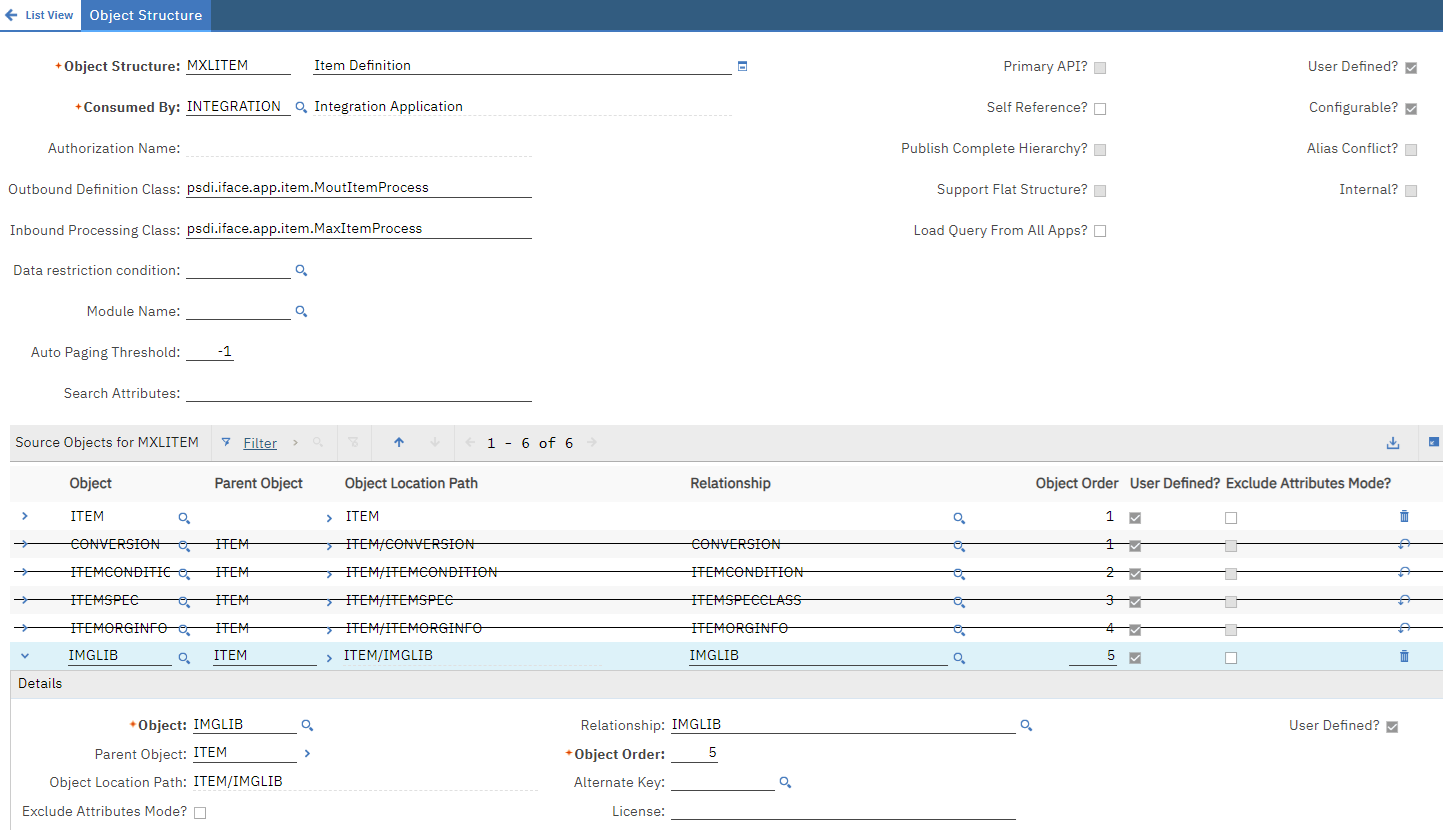
- In the Object Structures application, Open and duplicate the MXITEM object structure to create a new one. Name it MXLITEM
- Under “Source Objects for MXITEM”, delete all child objects, and add a new child object IMGLIB as shown below
Step 2: Add an Integration Automation Script
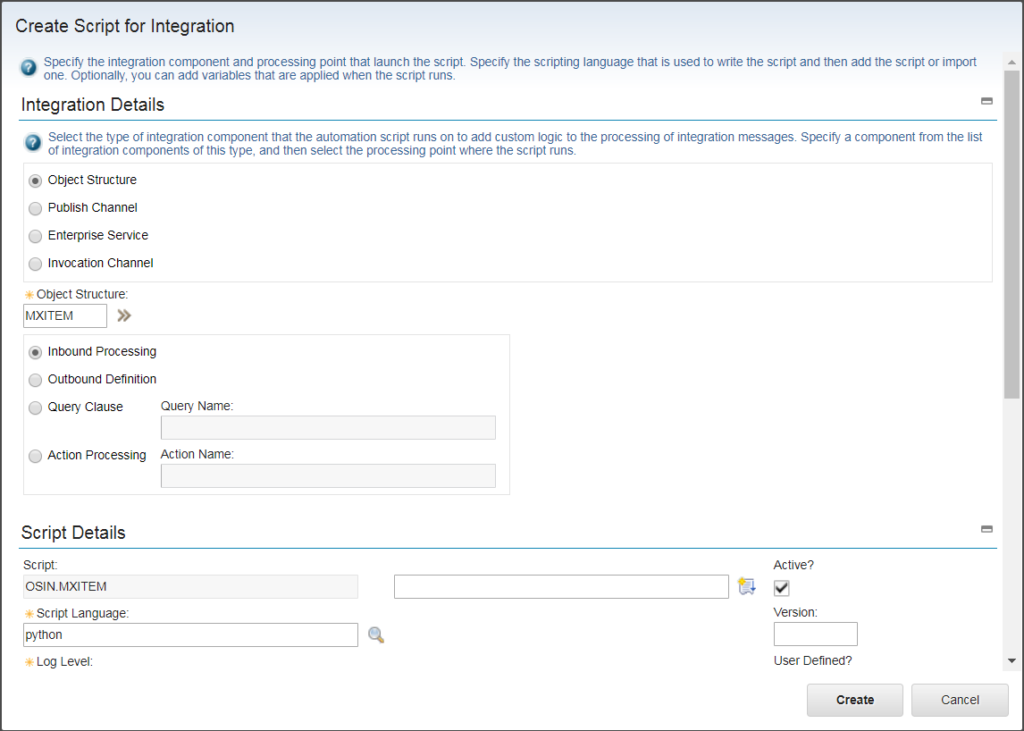
- In the Automation Script application, choose Action > Create > Script for Integration
- In the pop-up, enter the following details:
- Select “Object Structure”, choose “MXLITEM” for Object Structure
- Select “Inbound Processing”
- Language: Python
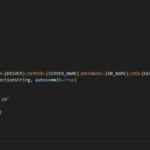
- Copy/paste the piece of code below to the Source Code area.
Step 3: Upload images to Item Master
Download the Excel VBA tool in this GitHub repo. Use it bulk upload images to Item Master:
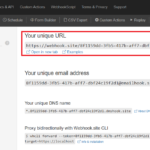
- Upload the Settings page with the URL and the username/password to connect to Maximo
- Put all the image files in the same folder as the Excel file
- Update the Data sheet with the list of Item Number and the name of the image file.
- Click on “Upload Images”
Notes & Updates
Note 1: be careful with photos taken from newer cameras, the files usually have high resolution and thus can be quite big. I’ve seen an eager team of engineers upload images for all assets and inventory items in a power plant, and overnight, the database grew from 1GB to 20 GB. Thus make sure you resize the images before uploading.
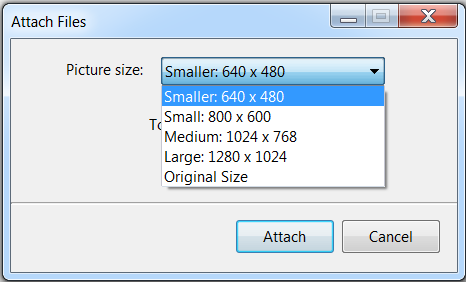
One quick and simple method in Windows is to select multiple files, then right-click, and choose Send To > Mail Recipient. Windows will give you a pop-up to resize the files, choose the smallest size (640×480). Windows will resize the files, then attach them to Outlook, in Outlook, select all the files, and copy/paste them to a different folder. These files will be much smaller than the original, full-resolution files.
Update Aug/2023: I have posted a new article on how to automatically rescale the image to a smaller size